INSTALL GITLAB RUNNER ON EC2 WITH DOCKER (STEP-BY-STEP)
Following our EC2 instance setup, let's dive into preparing our development environment. First, as mentioned in our previous post, we'll need to upgrade our instance type from t2.micro to t2.small for better performance when running Docker containers.
Why Docker Compose and GitLab CI? I've been working with GitLab CI/CD for years, and I appreciate how it provides an all-in-one solution for version control, CI/CD pipelines, and runner management. Since I'm already using GitLab for repositories, it made sense to stick with its CI/CD tools for a seamless workflow.
For container management, I chose Docker Compose because it simplifies deploying monolithic applications by managing services and dependencies in a single file. While Kubernetes is powerful, it can be overkill for simpler applications. Docker Compose offers the perfect balance - allowing me to define everything in a structured way without needing complex orchestration tools. This setup has served me well across numerous projects where simplicity and maintainability are key priorities.
Step-by-Step Guide
1. Instance Type Upgrade
Before we begin installing Docker, let's upgrade our instance type.
- This will affect your Free Tier eligibility
- Stop your instance first
- Change instance type to t2.small
- Start your instance again
- Verify the new instance type

2. Docker Installation
Now that we have sufficient resources, let's set up Docker on our EC2 instance.
Update package index
sudo yum update -yInstall Docker
sudo yum install docker -yStart Docker service
sudo systemctl start dockerEnable Docker service
sudo systemctl enable dockerAllow EC2 User to Run Docker Without Sudo (Optional)
sudo usermod -aG docker ec2-userVerify Docker installation
docker --version
Test Docker functionality:
docker run hello-world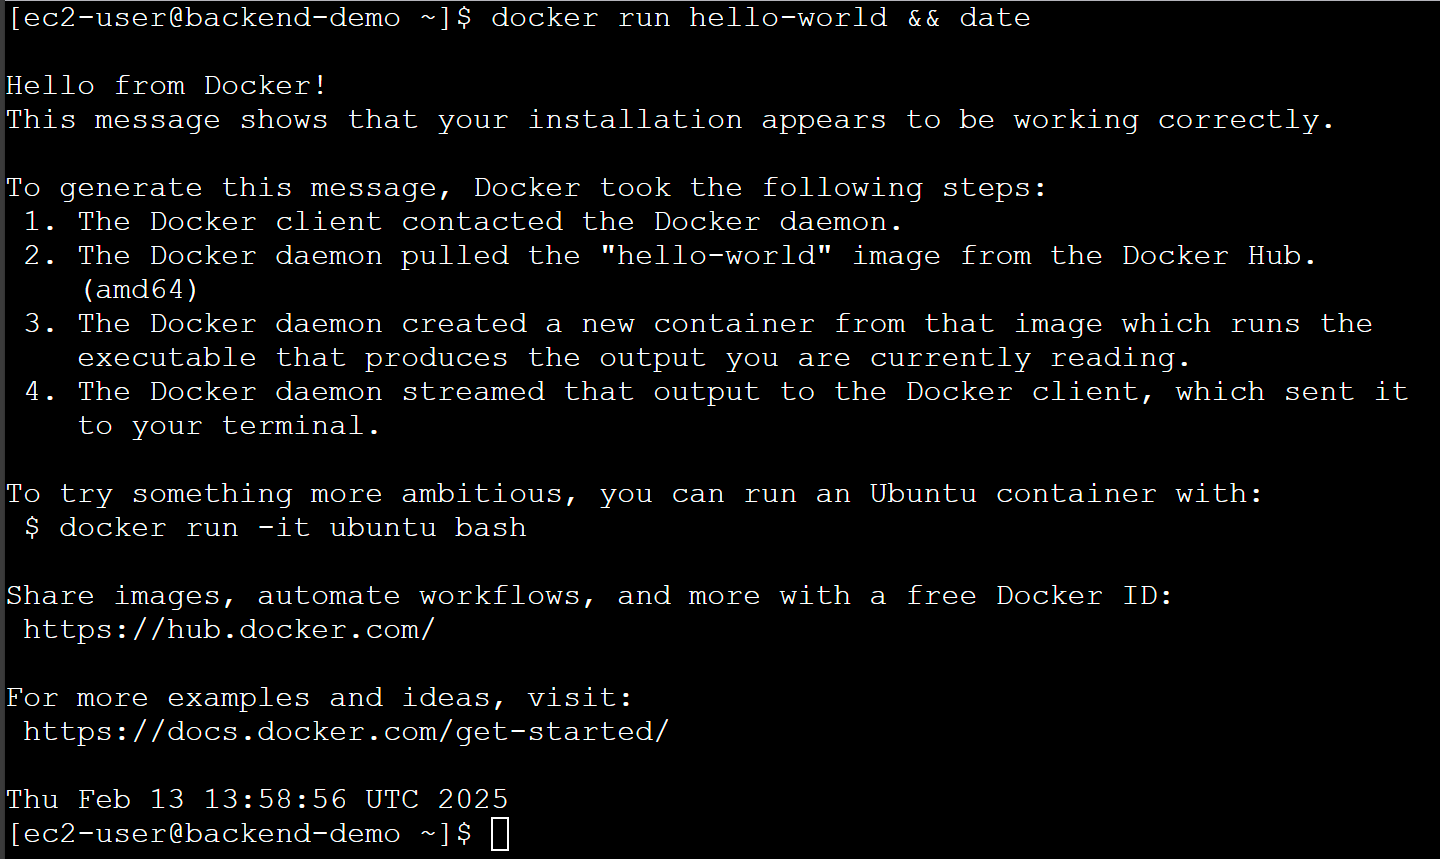
3. Docker Compose Installation
Now that we have Docker installed, let's set up Docker Compose.
Download Docker Compose binary
sudo curl -L "https://github.com/docker/compose/releases/latest/download/docker-compose-$(uname -s)-$(uname -m)" -o /usr/local/bin/docker-composeMake the Docker Compose binary executable
sudo chmod +x /usr/local/bin/docker-composeVerify Docker Compose installation
docker-compose --version
4. Setup GitLab CI Runner
Before we can run our CI/CD pipelines, we need to setup the GitLab CI Runner.
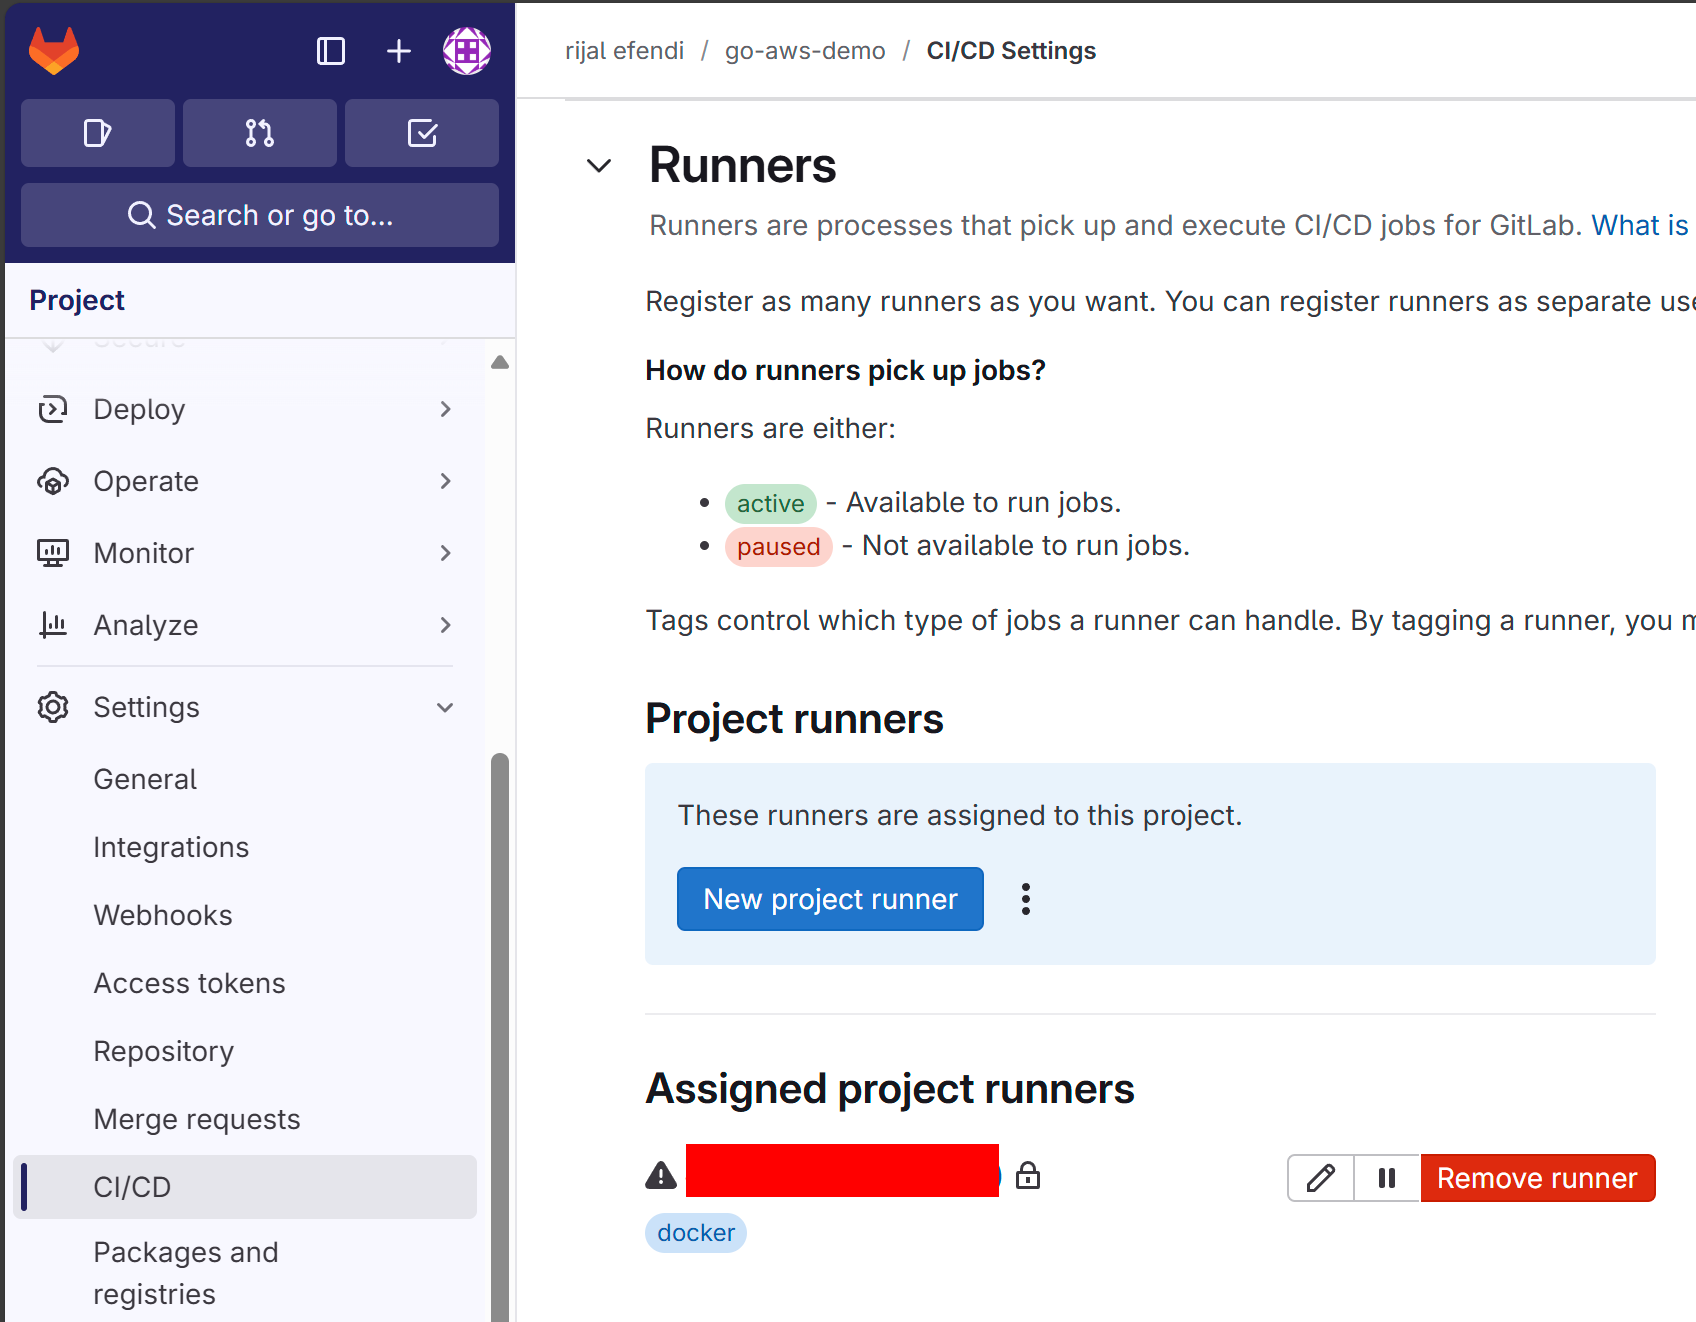
Navigate to your GitLab project's CI/CD settings:
- Go to Settings > CI/CD > Runners > New Project Runner
- Create a new runner
- tag the runner: You can use tags to control which jobs a runner can execute. We use "docker" tag because we want clean environments per job and proper isolation between jobs.
- add description: Add a description to the runner to help you identify it.
- lock the runner: Lock the runner to the project.
- maximum timeout: Set the maximum timeout for the runner.
- Register the runner
- platform: Choose "linux" because we are on an EC2 instance.
- copy the registration command from GitLab UI
5. GitLab Runner Installation
After we have the runner & variables setup, we can install the GitLab Runner.
Add GitLab Runner Repository
curl -fsSL https://packages.gitlab.com/install/repositories/runner/gitlab-runner/script.rpm.sh | sudo bashInstall GitLab Runner
sudo yum install -y gitlab-runnerVerify GitLab Runner installation
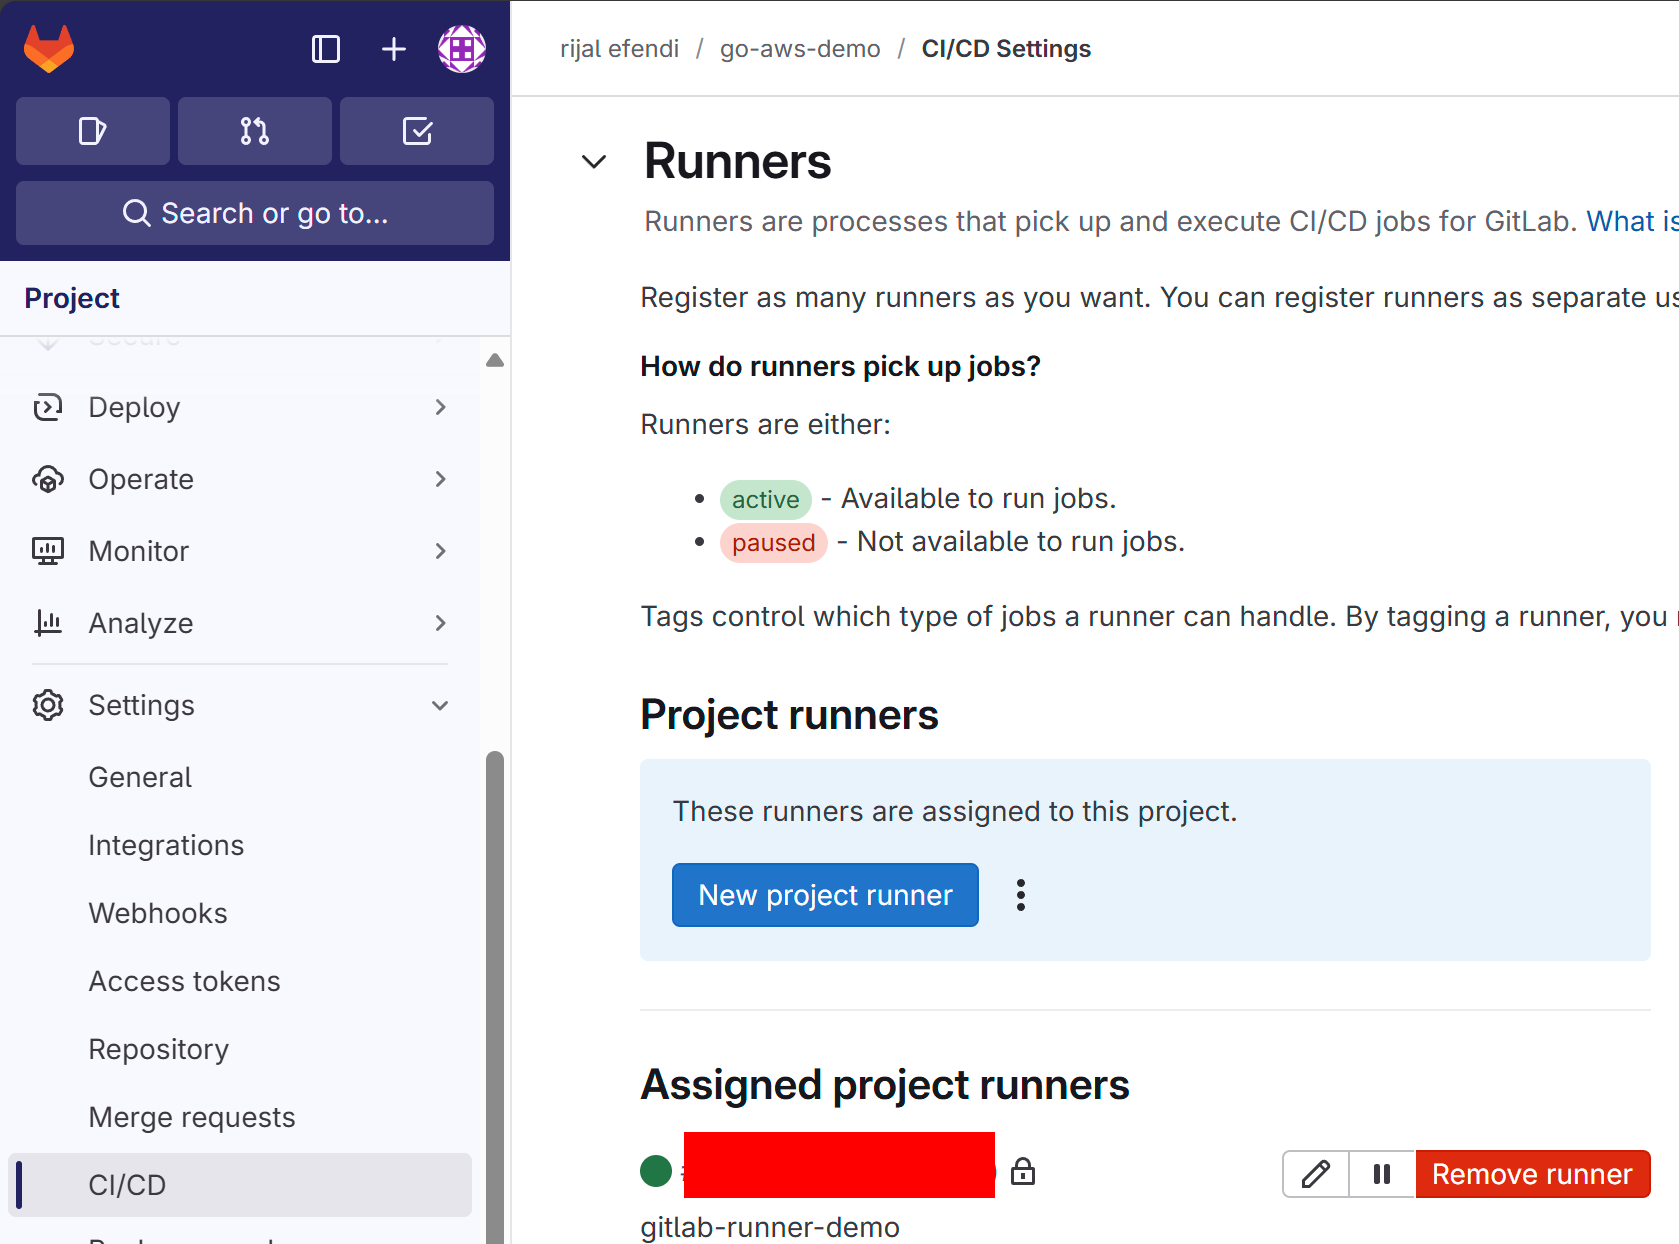
gitlab-runner --versionStart GitLab Runner service
sudo systemctl start gitlab-runnerEnable GitLab Runner service
sudo systemctl enable --now gitlab-runnerCheck GitLab Runner status
sudo gitlab-runner statusAdd GitLab Runner to Docker Group
sudo usermod -aG docker gitlab-runner
Common Pitfalls
- Running Docker commands without proper permissions
- Forgetting to start services after reboot
- Forgetting to save runner registration tokens
Learning Journey Highlights
Docker Installation
- Docker version verification
- Docker hello-world test
Docker Compose Installation
- Docker Compose version verification
GitLab Runner Installation
- GitLab Runner version verification
- GitLab Runner registration
Next Steps: CI/CD Pipeline
Now that we have our development environment set up with Docker, Docker Compose, and GitLab Runner, our next steps will focus on:
- Implementing CI/CD Pipeline
- Container Registry Setup (ECR)